Not everyone likes autumn, as it is a strong reminder that the summer is over 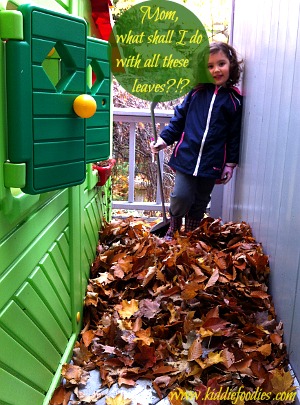 and the winter is definitely approaching. I guess it depends on where you live. When I lived in the South of France, the only regret I had was not to being able to use our swimming pool anymore. There was no snow on the coast during winter time (with maybe an exception of 1 day in some years), trees were still green, you just needed to put on a jacket.
Now, leaving in Canada, I can really feel the difference. We have 4, well distinguished seasons and I love the autumn here. It is absolutely amazing. All the gorgeous colors of the autumn leaves are breathtaking.
My daughter likes is too and she says that during autumn the nature dresses up telling us good-bye until spring. It is colorful, so that we can remember it all winter.
Last weekend we started to clean up our backyard from all the leaves that has fallen. There were a lot of them as we had a few windy days just before. At one point of time, my daughter said: “Mom, what are we going to do with all these leaves?!?” I said, that we can think of something and asked her to select some of the most beautiful leaves.
And here is what we did:
What you need
- leaves of different kinds, colors and sizes
- different autumn tree ‘treasures’ that you can find to make final decoration touch for your pictures (beechnuts, beechnuts husks, maple tree seed pods… )
- paper
- double sided tape
- glue
- scissors
How to make it
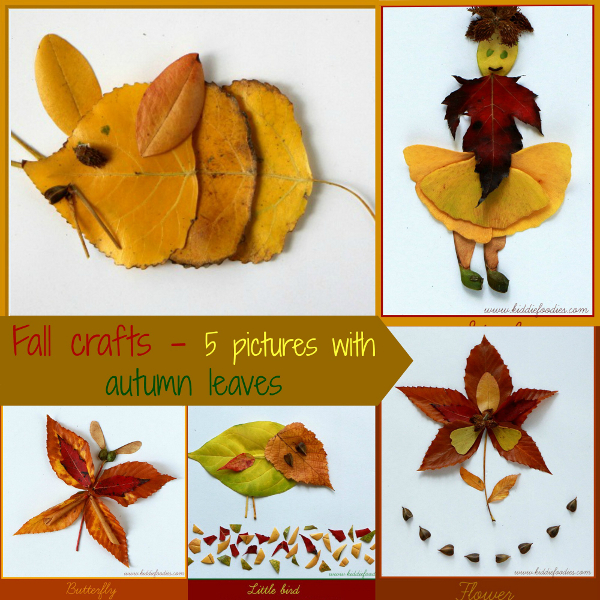
Mouse picture from autumn leaves
You will need 3 leaves of the same size to make the mouse body and its head. Cut the leaf stalks from two of them. Start making the mouse from the body-end. Use double sided tape to fix the first leaf with a long stalk; this will make the mouse tail. Fix the other two leaves with the same tape. Make ears with smaller leaves. Use cut leaves stalk to make the mustache. You can use a beechnut to make the mouth and the beechnut husk to make the eye. Glue them to the leaves. 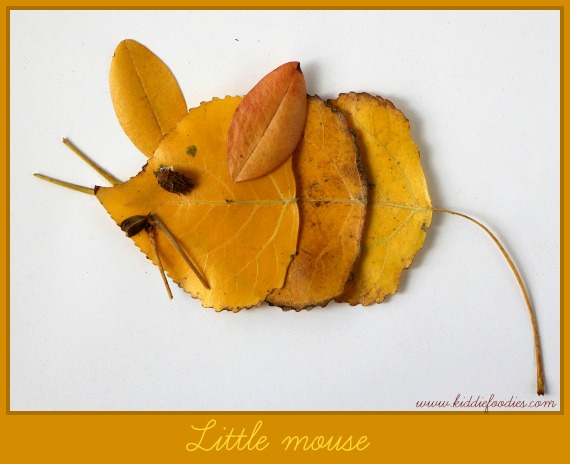
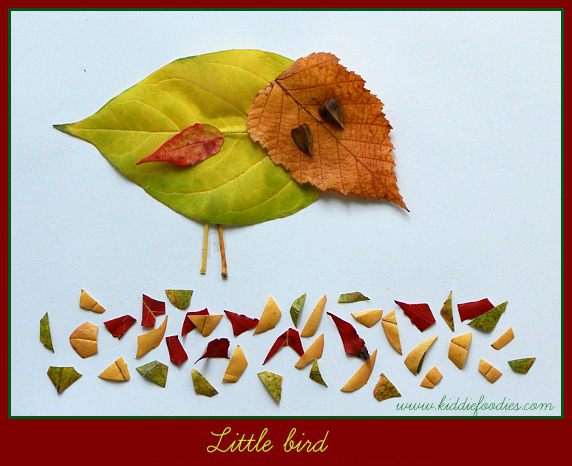
Bird picture from autumn leaves
Take 3 leaves of different sizes: one big, one medium, one small and preferably of different colors. Make the bird body with the bigger leaf, then make his head with the medium leaf and his wing using the smallest leaf. Use 2 beechnuts to make bird’s eyes. Cut 2 pieces of leaf stalk and use it to make bird legs. Cut leaves of different colors in small pieces and place them underneath the bird. Use double sided tape or glue for all the fixations.
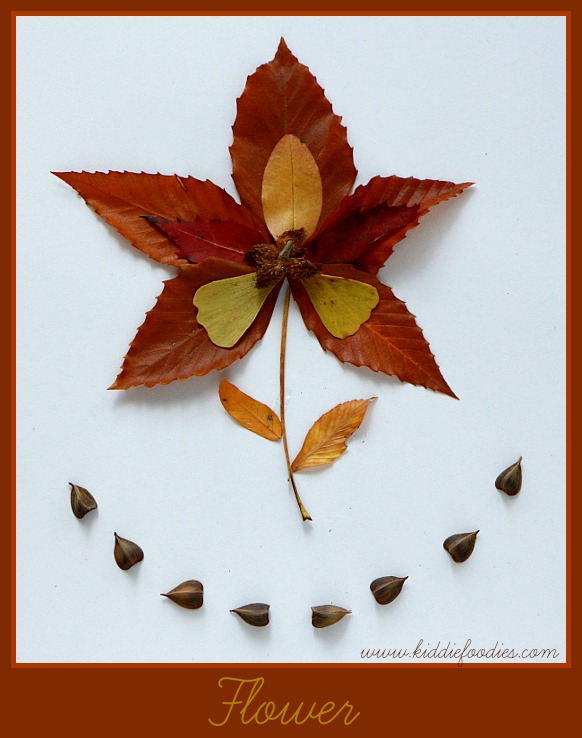
Flower picture from autumn leaves
Take 5 leaves of the same size and fix them on the paper making a circle. Use leaf stalk to make the flower stem. Use smaller leaves of different colors and shapes to decorate inside part of the flower. You can place an opened beechnut husk to make the center of the flower. Use two small leaves to make the flower leaves. You may also glue some beechnuts to make the final touch. Use double sided tape or glue for all the fixations.
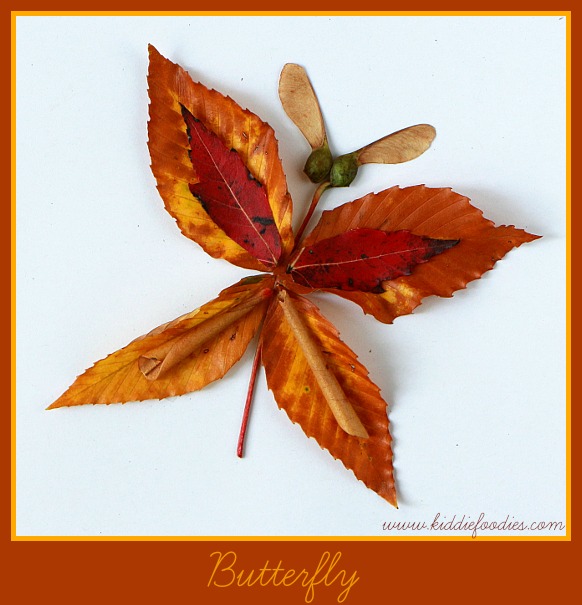
Butterfly picture from autumn leaves
Take a long leaf stalk and fix it on the paper. Use two bigger leaves for the butterfly top wings and two smaller leaves for the lower wings. Place a smaller leaf on each of the wings, preferably of a different color. You can use the maple tree seed pods for the butterfly antennae. Use double sided tape or glue for all the fixations.
Girl picture from autumn leaves
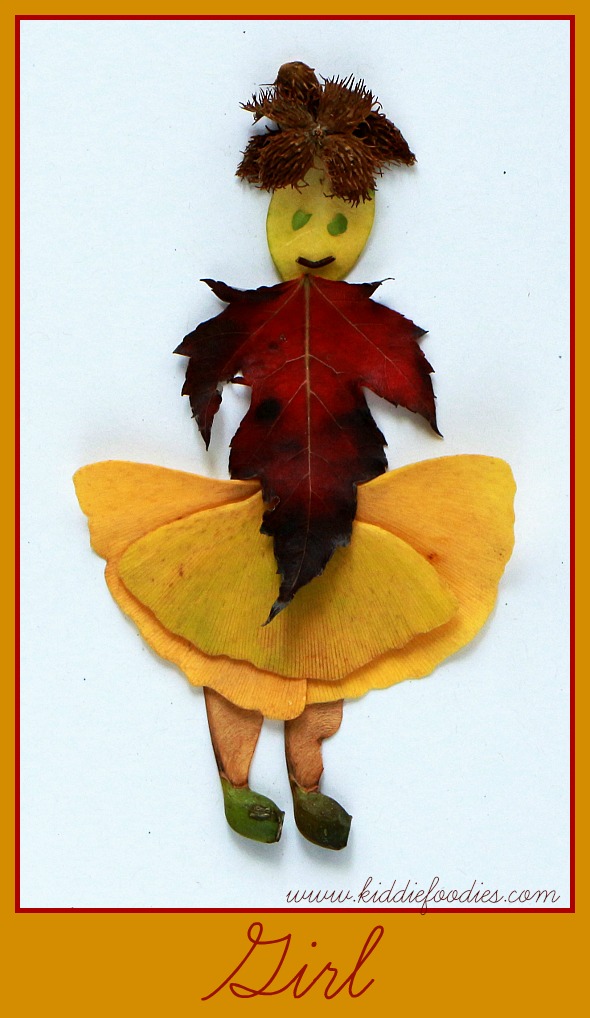
Take 3 leaves to make a skirt, then one leaf for the girl’s upper body. Use maple tree seed pods to make the legs. Take one small oval leaf to make the head. Use tiny oval leaves or cut two round shapes from bigger leaves to make the eyes. Cut small piece of leaf stalk to make the mouth. Use opened beechnuts husk(s) to make the hair. Use double sided tape or glue for all the fixations.
Fall crafts – 5 pictures with autumn leaves

